A velvet cake draws people in because it feels simple, warm, and easy to share. Many want ways to make it at home without stress or expensive tools. This guide offers practical ideas, small steps, and handy tips to help you create a velvet cake that looks great, tastes rich, and fits any budget.
21+ Show-Stopping velvet cake Designs Ideas for Easy Home Baking!
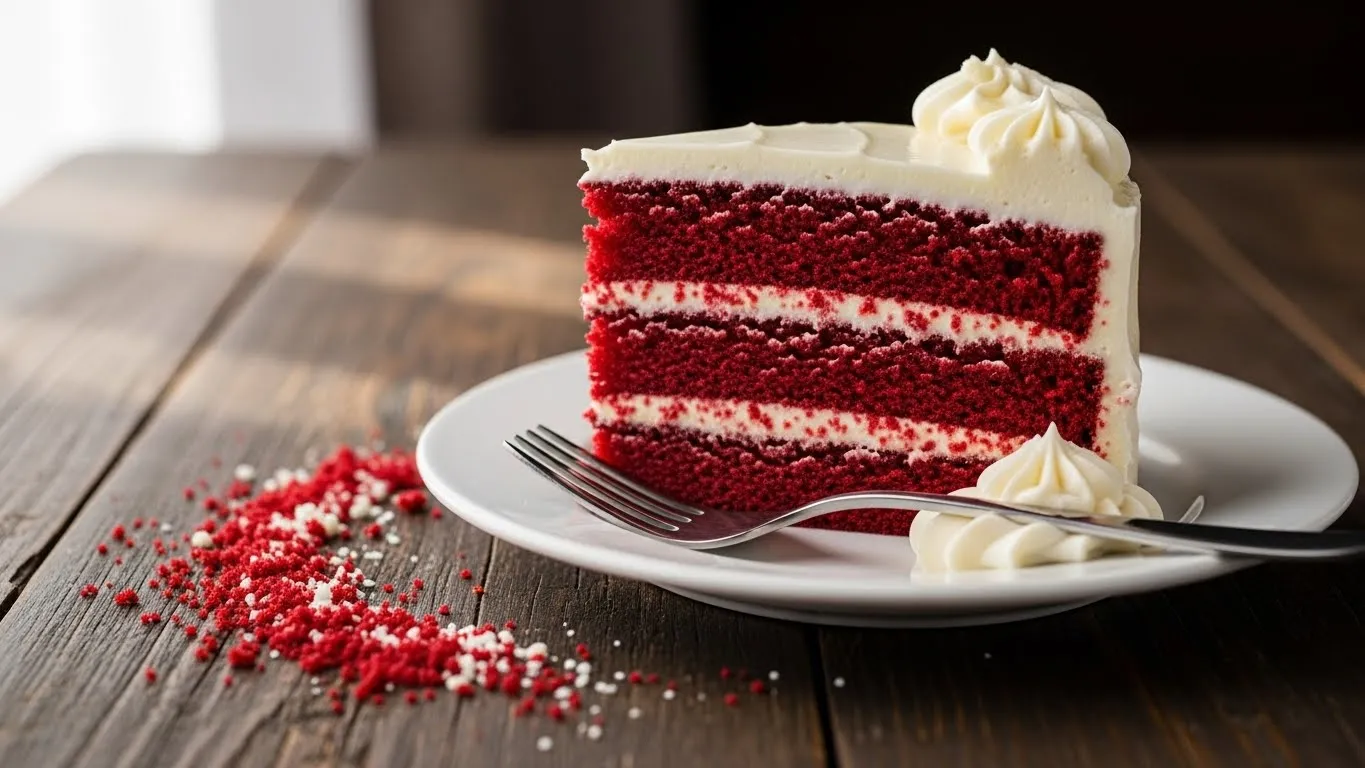
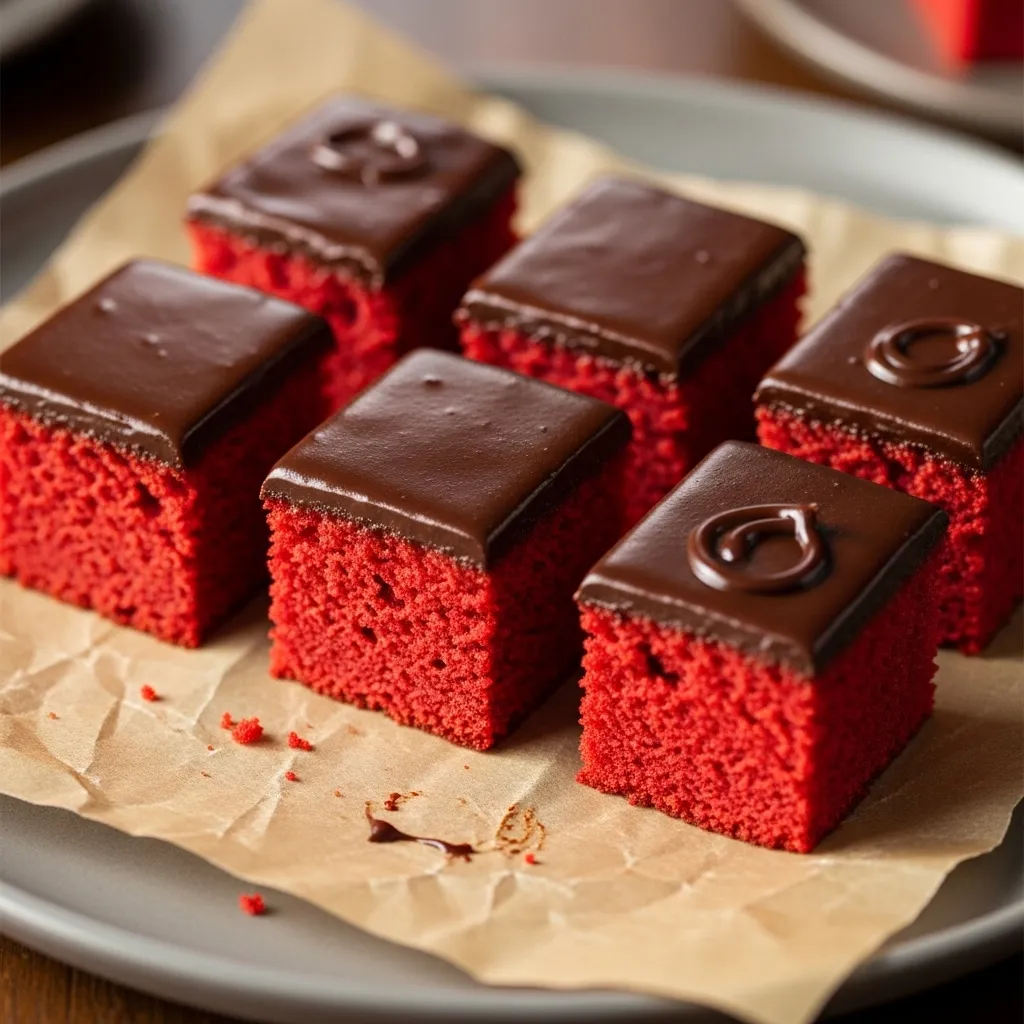
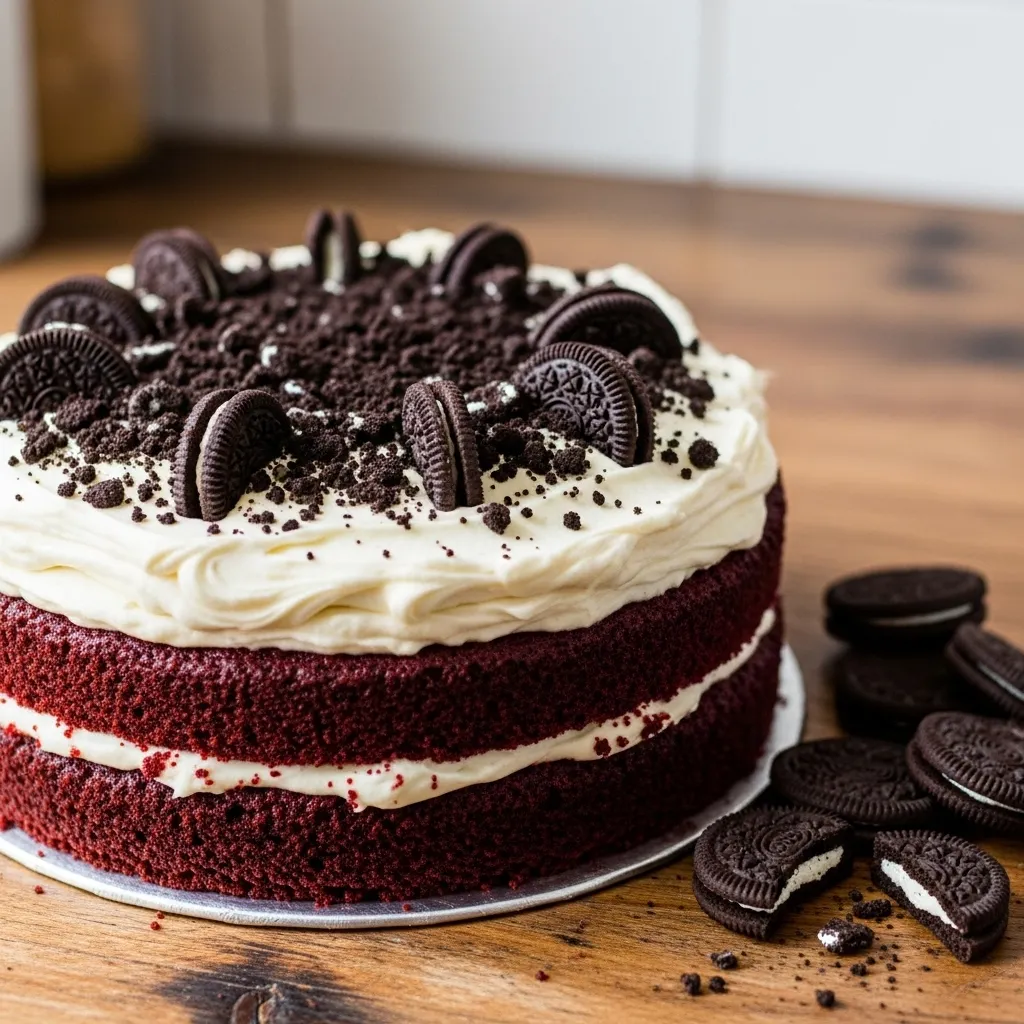
1. Classic Red Velvet Slice
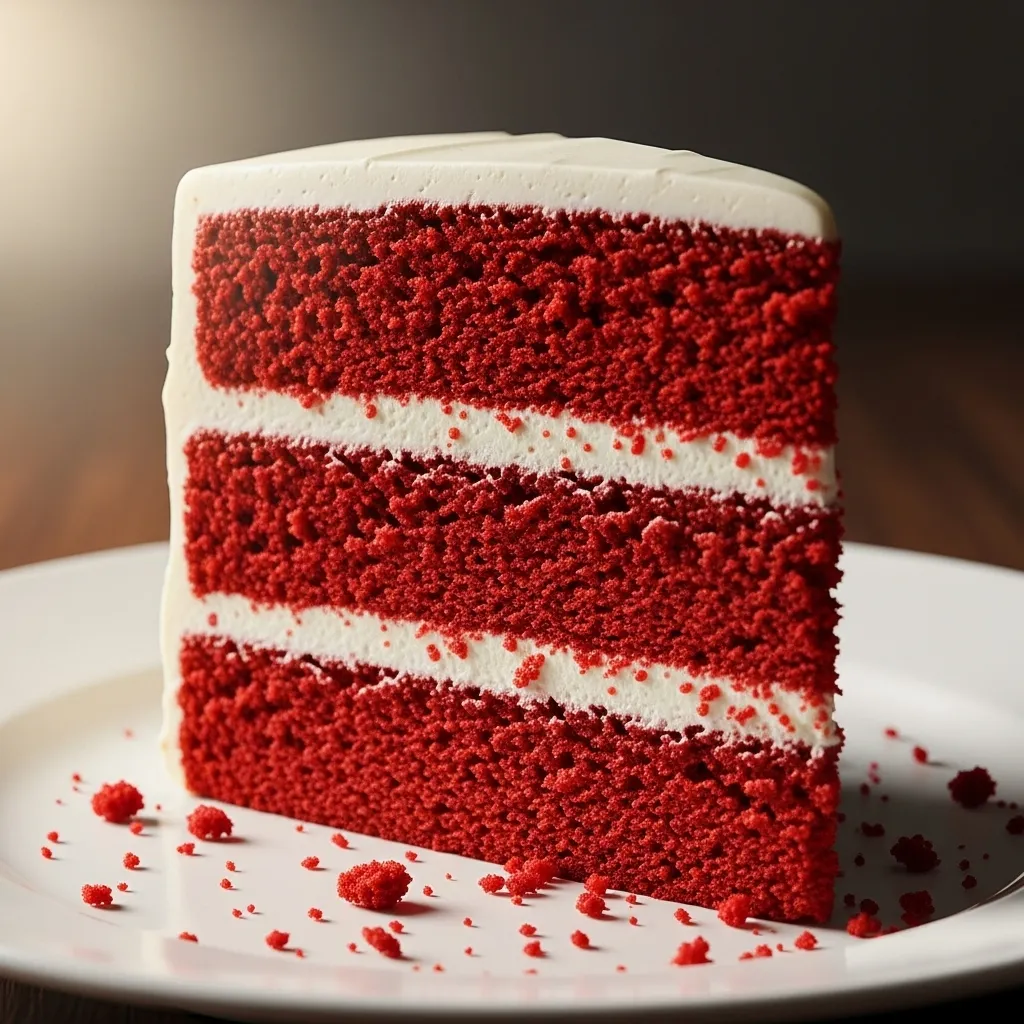
Mix dry and wet ingredients separately. Combine them only until just mixed to avoid a tough cake. Bake in two pans and cool completely before frosting. Use a small offset spatulafor smooth edges. Sprinkle crumbs on top for texture and to hide flaws. For a low-cost option, skip food coloring. Use parchment circles for easy release. Store leftovers refrigerated, but let slices warm slightly before serving.
2. Mini Velvet Cupcakes
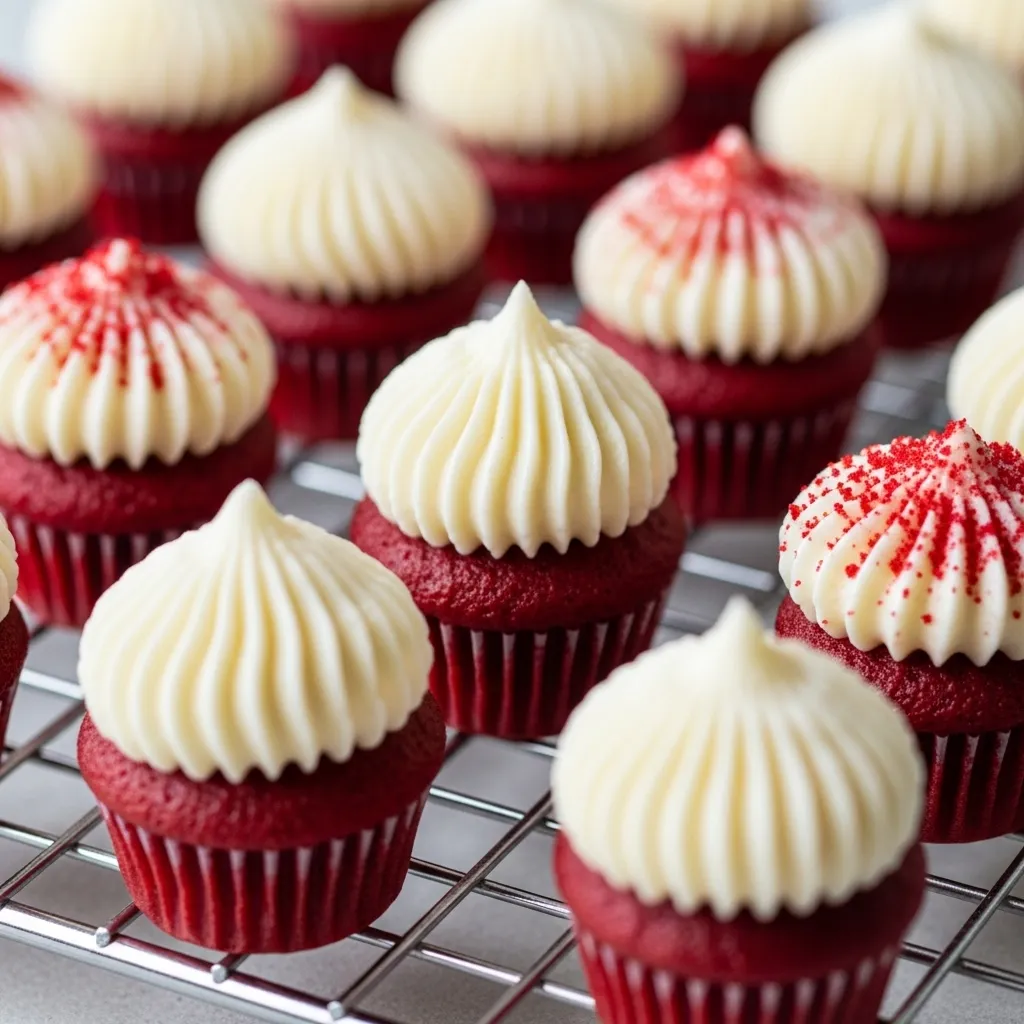
Mini cupcakes bake and freeze fast. Fill liners halfway to prevent spills. Use a piping bag for frosting; chill soft frosting for 10 minutes. Garnish simply with a cocoa sprinkle. Try reusable silicone molds instead of paper liners. Bake a test cupcake first—they can dry out quickly. Store unfrosted extras in an airtight container until serving.
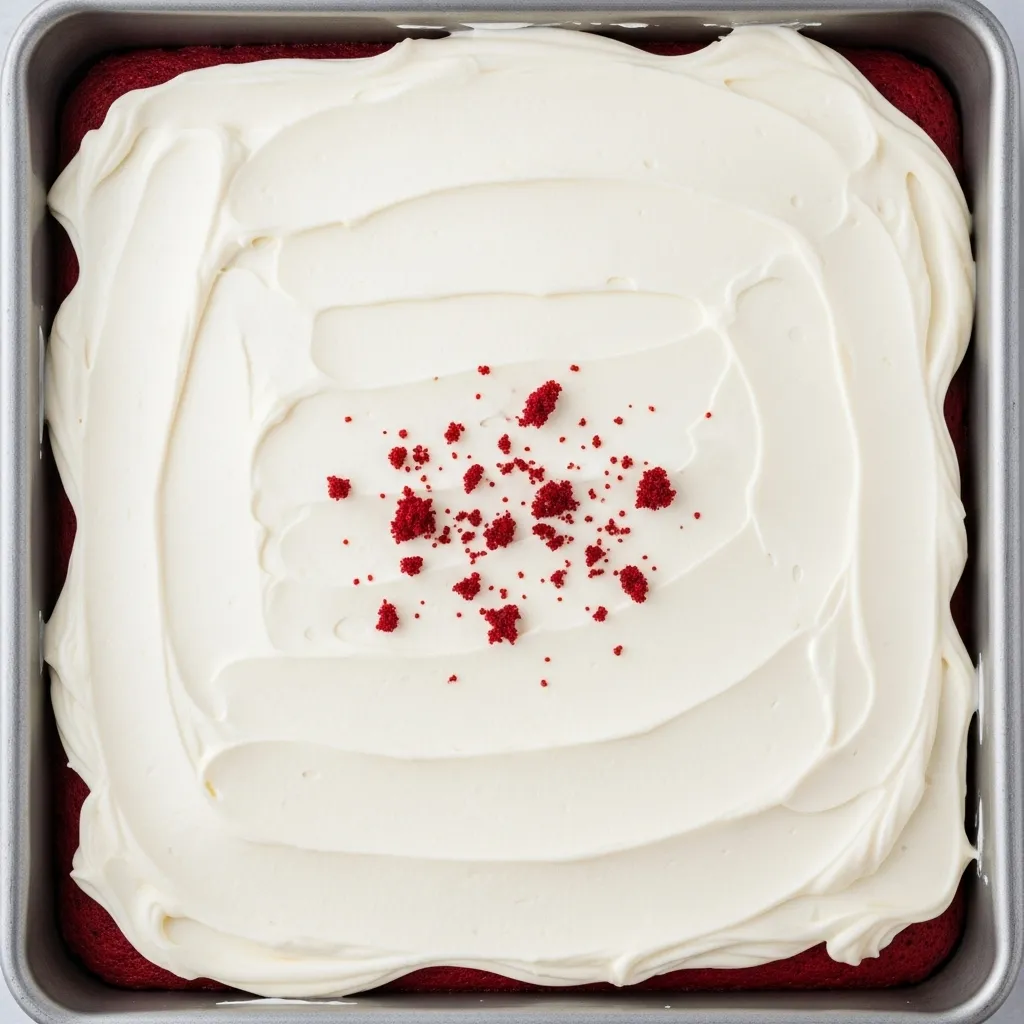
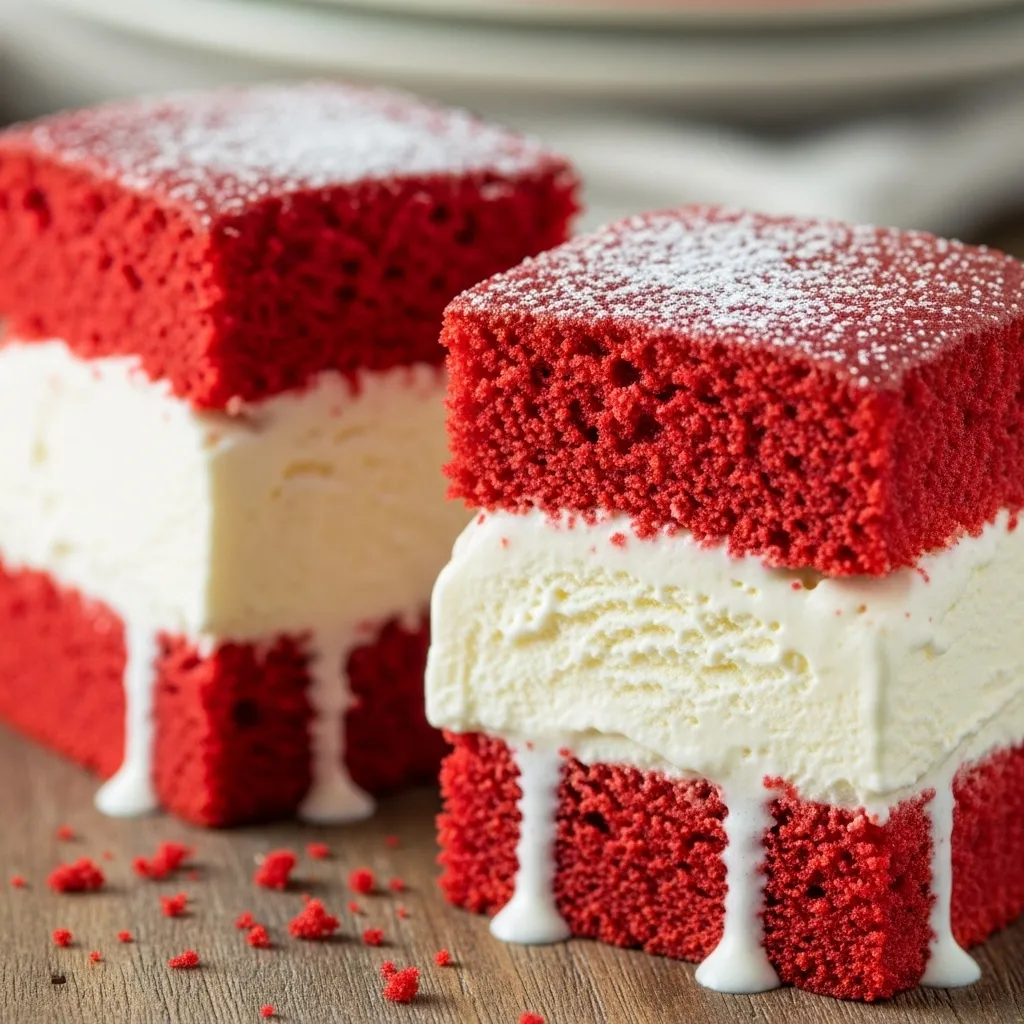
3. Velvet Cake Bars
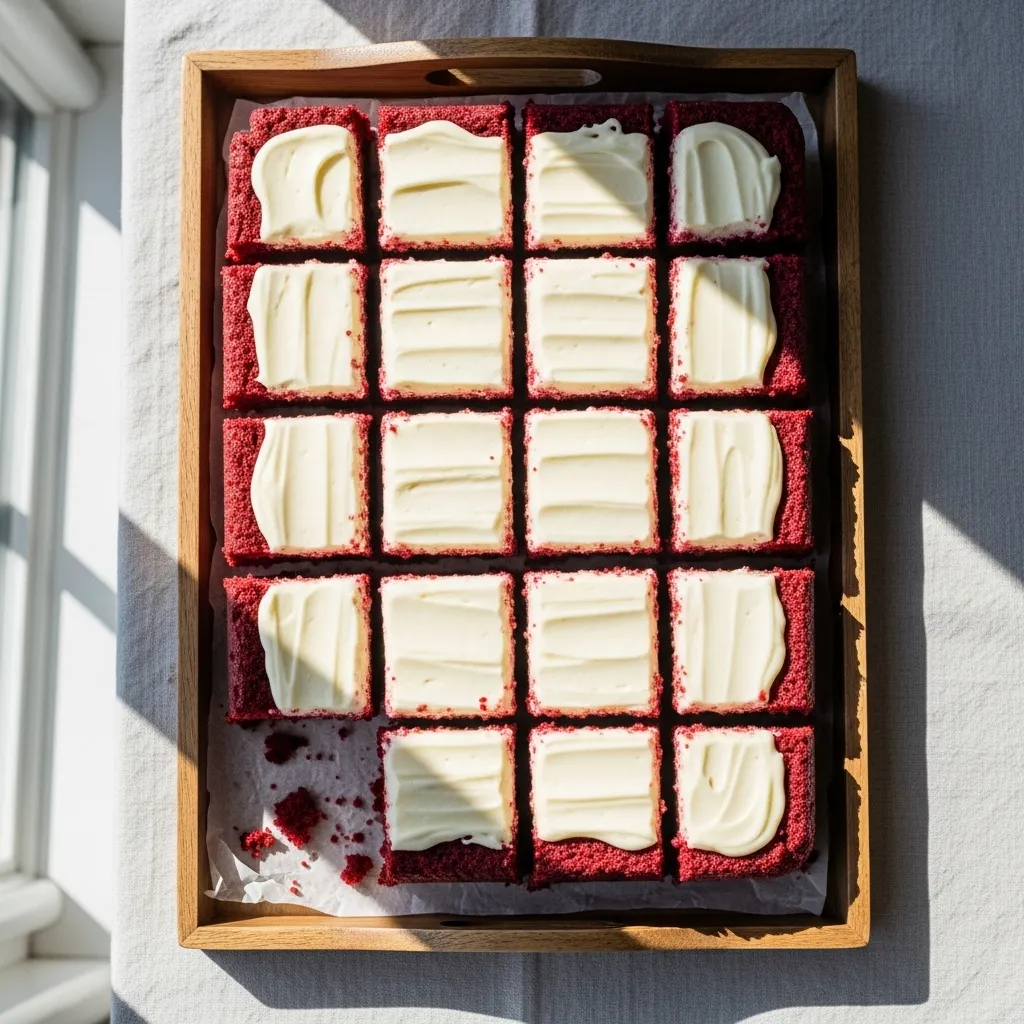
Cake bars work well for potlucks or gifting. Bake the batter in a rectangular pan to avoid layering. Spread a thin sheet of frosting across the top. Use a warm knife to cut cleaner squares. Add parchment so you can lift the entire cake out before slicing. This keeps edges from crumbling. If you want a hint of crunch, sprinkle crushed nuts over the frosting. Keep things simple by using one bowl for wet ingredients and folding in the dry ingredients gradually. Let the tray cool before adding frosting, or it will melt into the surface. Store pieces in the fridge, separated with small parchment squares.
4. Velvet Mug Cake
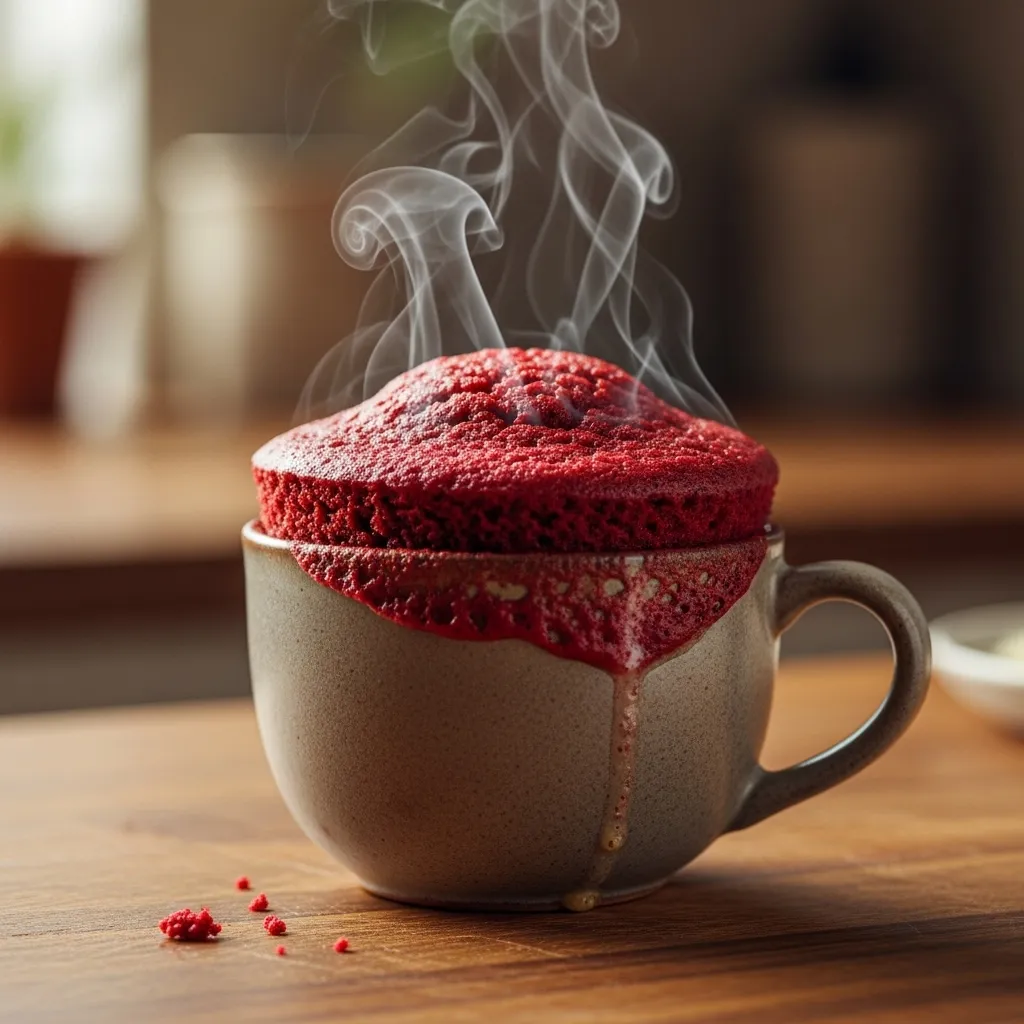
Mug cakes help when you want something quick. Mix flour, cocoa, sugar, and a bit of oil directly in the mug. Add milk and a dash of vinegar to give it that classic velvet texture. Stir only until smooth. Microwave for about a minute. The time varies by mug size, so test in small increments. Add a spoonful of cream cheese on top while it’s still warm. This melts slightly and tastes like frosting. Keep the recipe budget-friendly with pantry staples. If the cake rises too much, use a larger mug next time. Eat it right away for the best texture.
5. Velvet Sheet Cake for Crowds
Sheet cakes help feed many people without much effort. Bake a doubled recipe in a rimmed pan. Keep your frosting soft so it spreads easily over a broad surface. Use the back of a large spoon to make simple swirls across the top. If you want quick decoration, add crushed cookies or cocoa dust. Sheet cakes travel well, making them great for events. Try mixing the batter with a whisk instead of a mixer to avoid overworking it. Cut pieces with a plastic knife for smoother edges. Most sheet cakes stay moist for two days when covered tightly.
6. Velvet Cake with Berry Topping
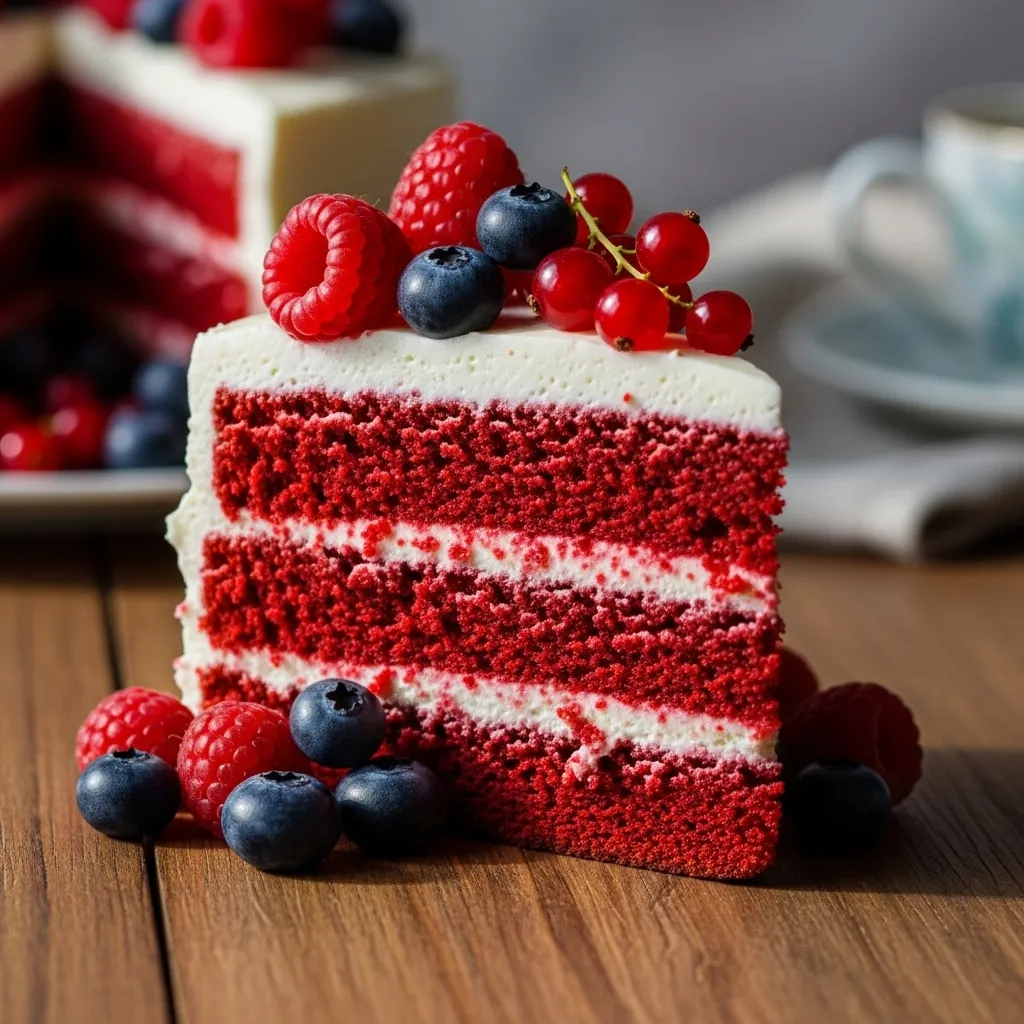
Add berries for color and a pleasant tart flavor. Wash and dry them well so they don’t water down the frosting. Spread frosting lightly, then scatter berries on top. Choose strawberries for sweetness or raspberries for a sharper flavor. Keep cost low by buying frozen berries and thawing them in a colander. Let the cake cool before adding anything. A warm cake will make the berries slide. Slice gently so berries stay in place. Store leftovers without the berries on top to avoid sogginess.
7. Velvet Cheesecake Fusion
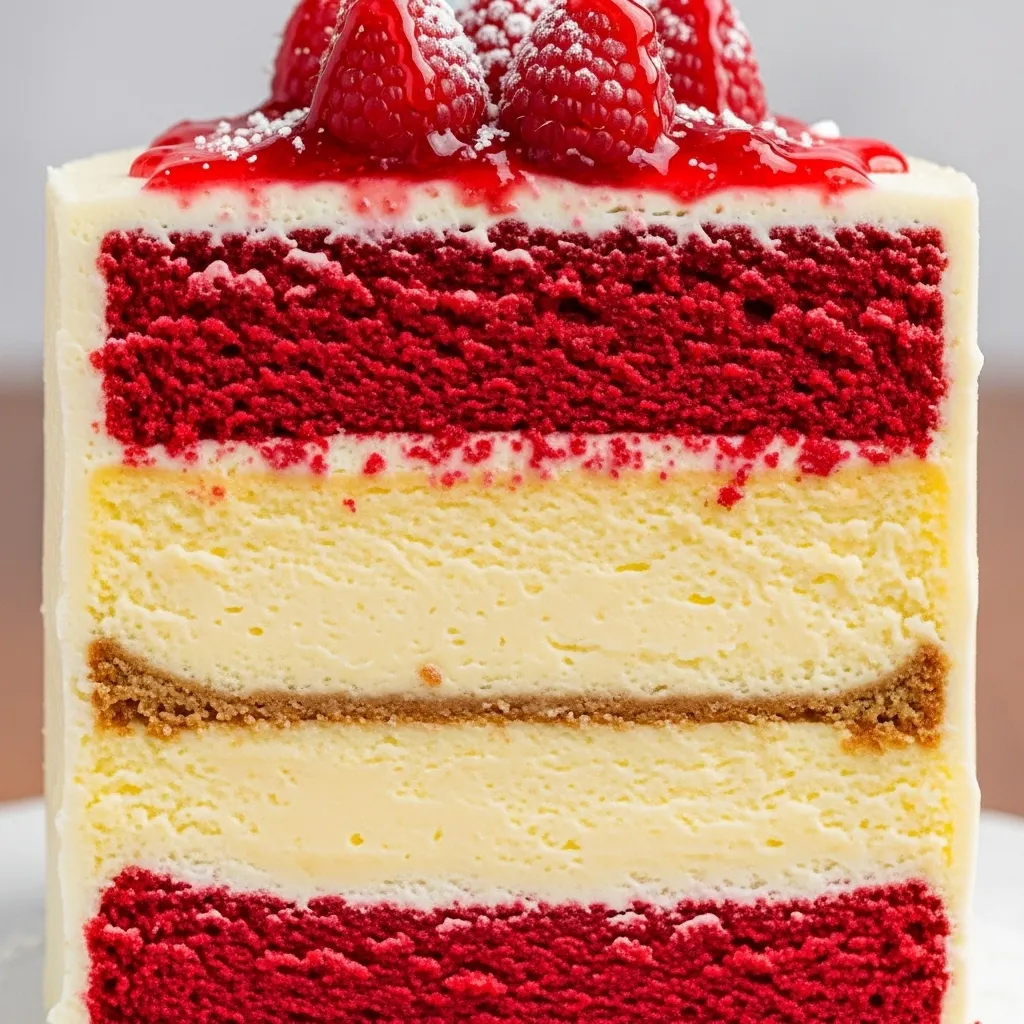
Combine velvet cake and cheesecake for a fun twist. Bake a thin velvet layer in a spring form pan. Once cool, pour in a simple cheesecake mixture. Bake again until set. Let it rest in the fridge for several hours before slicing. Use a warm knife for cleaner edges. If you want to save money, skip specialty pans and line a regular pan with parchment. Make the velvet layer thin so the dessert stays stable. Keep slices small because it’s rich.
8. Velvet Cake Roll
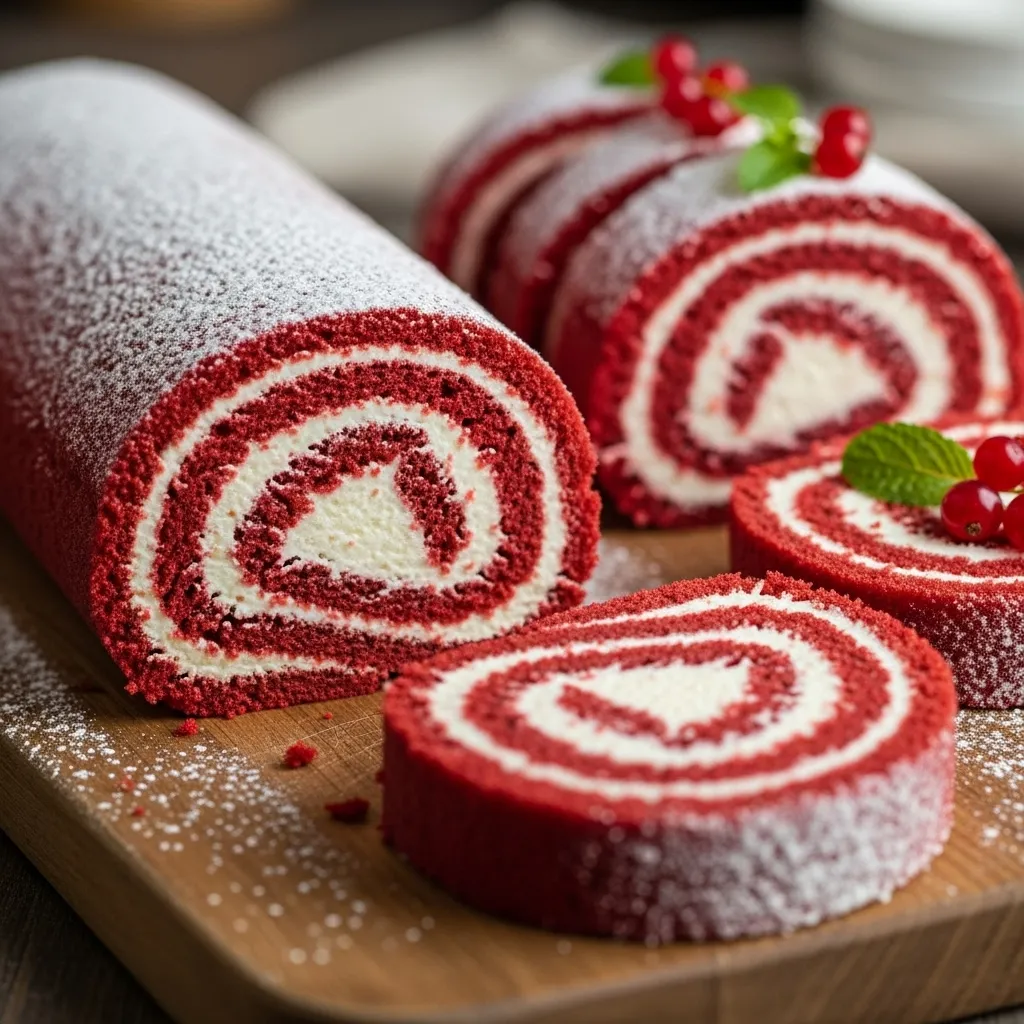
Bake a thin sheet of batter, turn it onto a towel dusted with cocoa, and roll it while warm. This helps it hold its shape. Once cool, unroll it gently and add your filling. Roll it again, then wrap it tightly in plastic for an hour. This sets the shape. If the cake cracks a bit, cover it with a dusting of cocoa or a thin frosting drizzle. Use a serrated knife to cut even slices. This treat looks fancy but uses only basic tools.
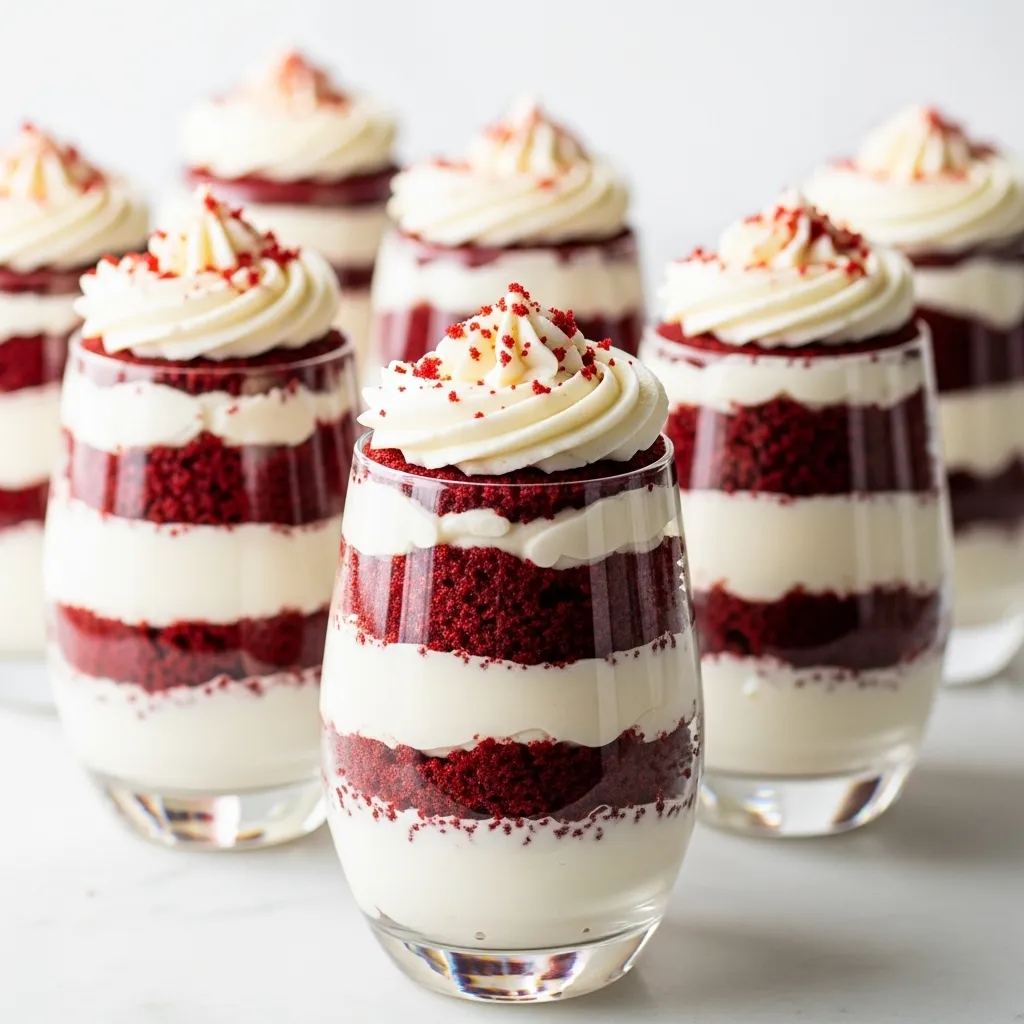
9. Velvet Cake Trifles
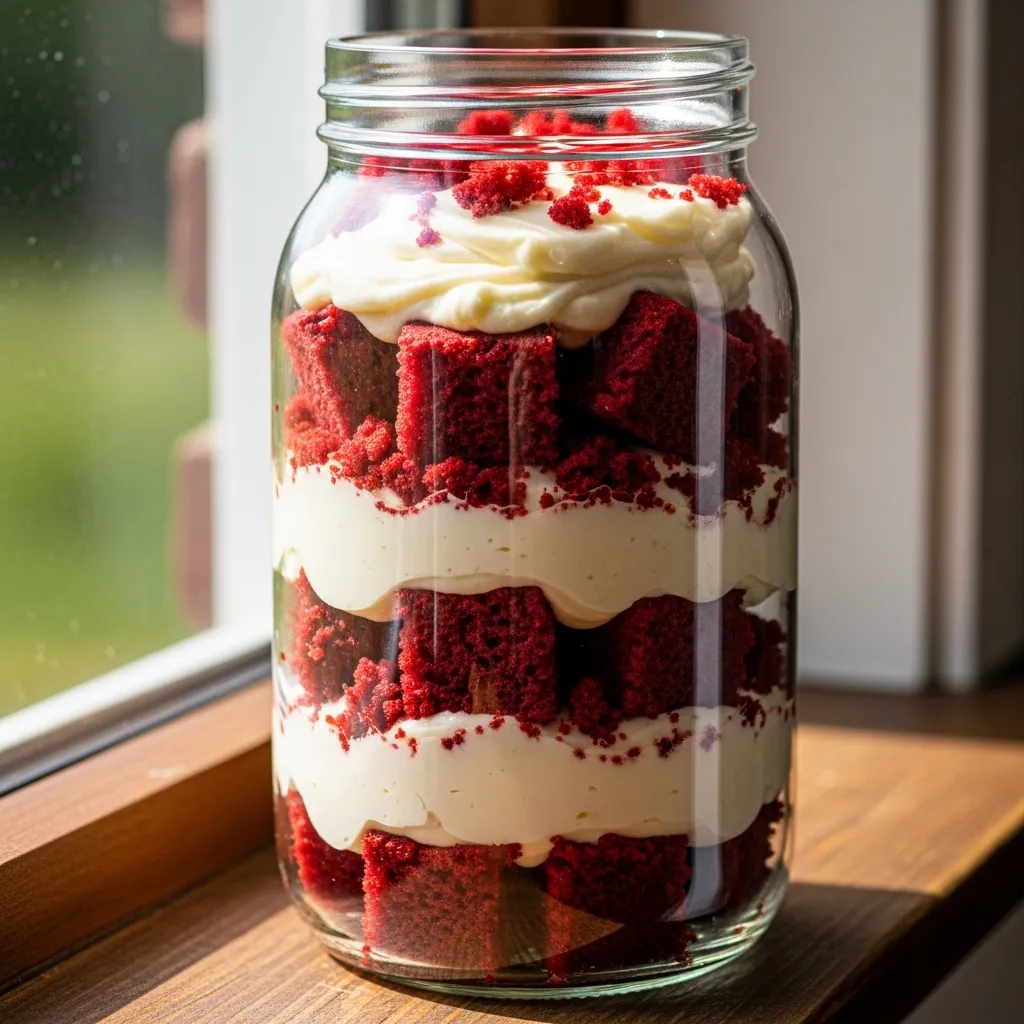
Trifles work well when a cake doesn’t bake perfectly. Cut the cake into cubes. Layer them with frosting in jars or cups. Add berries, nuts, or small chocolate pieces. This hides uneven layers and still tastes great. Use a spoon to pack each layer lightly. Make several jars for parties or gifts. Keep costs simple by reusing small glass jars. Chill before serving so the layers settle.
10. Velvet Cake Pops

Mix crumbled cake with a small amount of frosting until it holds together. Roll into balls and freeze for ten minutes. Insert sticks, then dip each ball in melted chocolate. Let them dry on parchment. Use sprinkles if you want color. A small amount of shortening in the chocolate helps it coat smoothly. Reuse leftover crumbs for more pops. Store in the fridge until serving.
Transform any cake into a stunning centerpiece with simple, eye-catching design ideas anyone can try.
11. Naked Velvet Cake

This style uses thin frosting layers so the cake shows through. Bake two or three layers. Stack them with modest amounts of frosting. Smooth the outside until only a light coat remains. This saves frosting and looks clean. Add a simple garnish like berries or edible flowers. Use a lazy susan or turntable if you have one, but a large plate works fine. Chill before slicing to help it stay firm.
12. Velvet Cake with Chocolate Drip
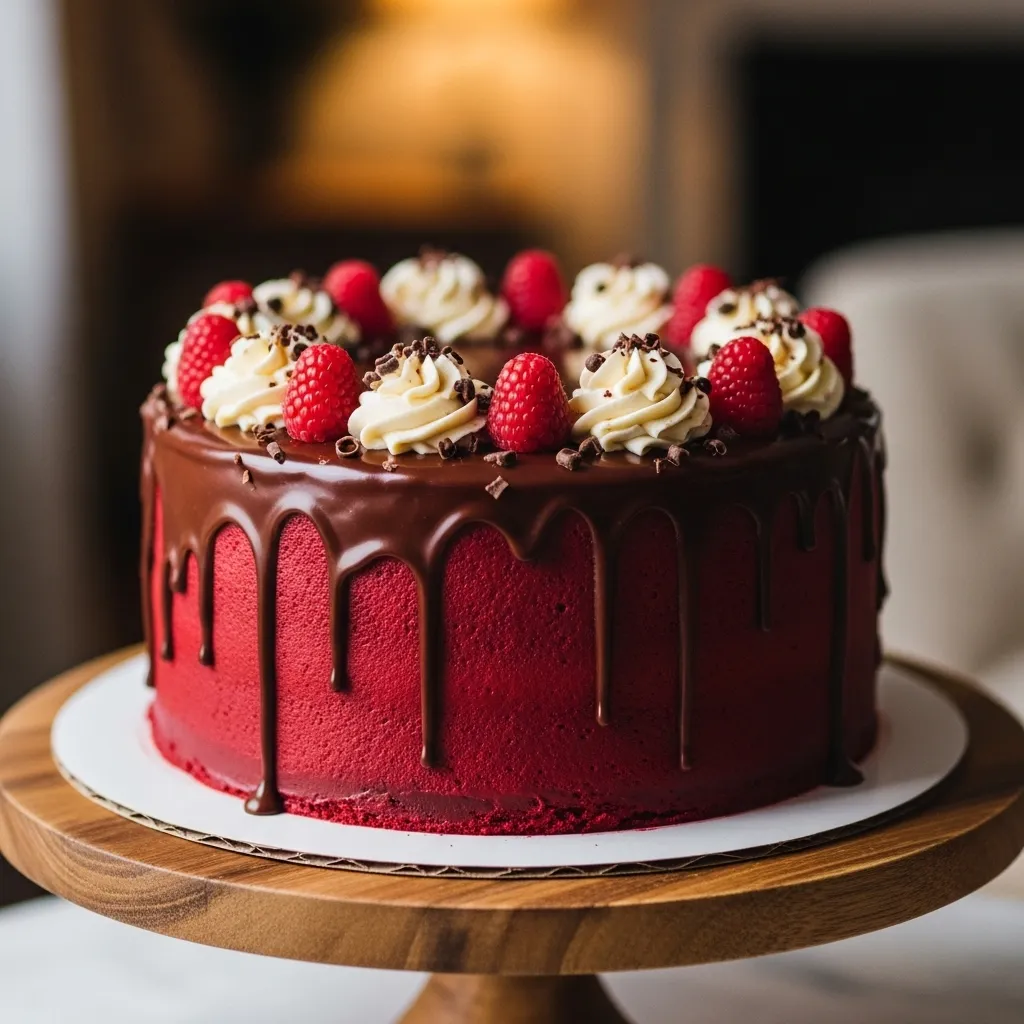
Make a simple drip with chocolate chips and a splash of cream. Spoon it along the edges so it flows naturally. Add the rest to the center and spread lightly. Keep frosting cold before adding the drip so it sets quickly. Use a baking sheet under the cake to catch any overflow. Keep costs low by using store-brand chocolate. Let the drip cool before adding decorations.
Also check out :A pecan cake delivers warm, nutty flavor with a soft crumb and a gentle crunch in every slice.
13. Velvet Bundt Cake
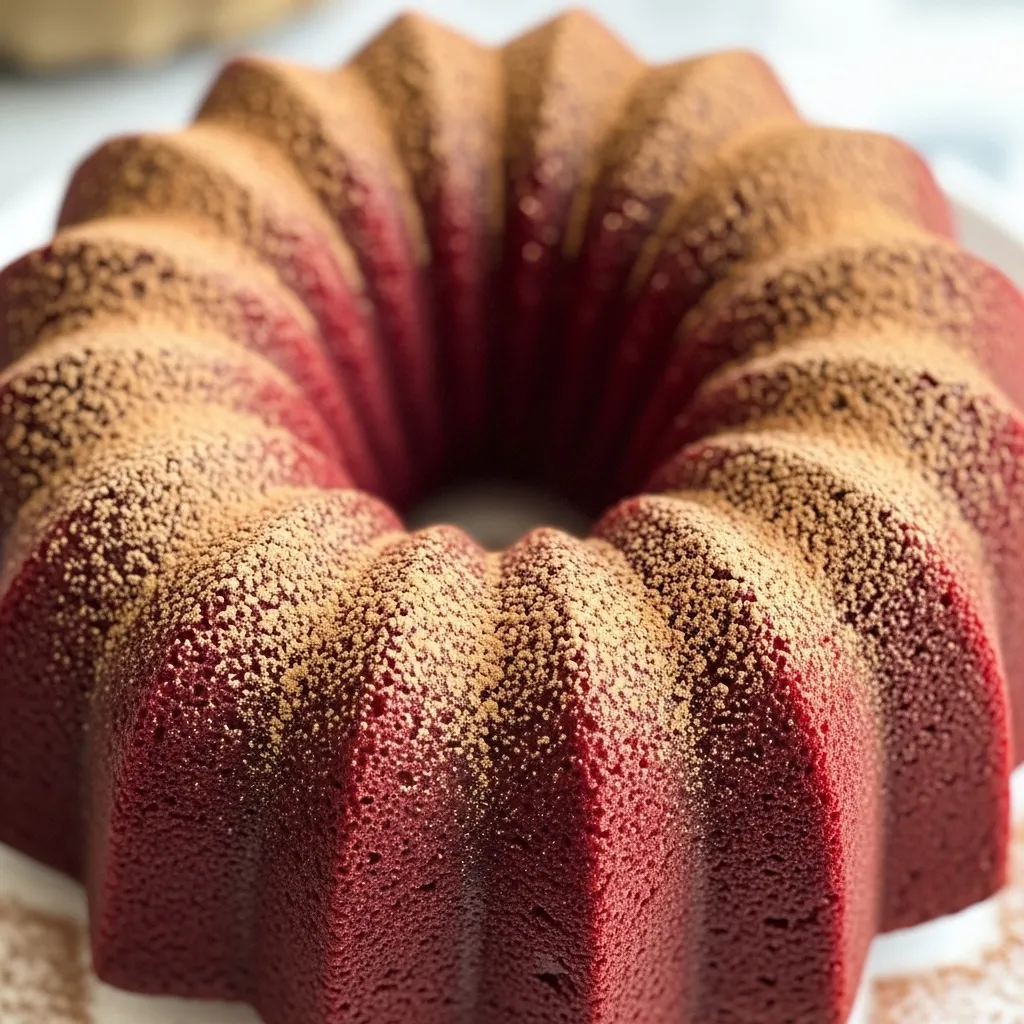
Bundt cakes look impressive without extra decoration. Grease the pan well to help it release. Use a thin glaze or powdered sugar on top. Mix the batter gently so it stays soft. Let the cake cool for at least ten minutes before turning it out. If a piece sticks, patch it with frosting or sugar. This version travels easily and slices neatly.
14. Velvet Cake Parfaits
Parfaits are quick to assemble and don’t require perfect baking. Layer cake crumbles with frosting or whipped cream. Add nuts or fruit for texture. Use clear glasses so the layers show. If you want to save money, use reusable plastic cups. Chill briefly before serving so the layers firm up. These work well at small gatherings or as an easy dessert after dinner.
15. Velvet Sheet Squares with Ganache
Add a simple ganache by melting chocolate with warm cream. Spread it thinly over a sheet cake and cut into squares. A warm knife helps keep lines clean. If you want crunch, scatter chopped nuts before the ganache sets. Use a metal pan for even baking. Store the squares in a tight container so the ganache stays smooth.
further more:Create irresistible chocolate cake designs that wow with rich textures, glossy finishes, and creative toppings.
16. Velvet Whoopie Pies
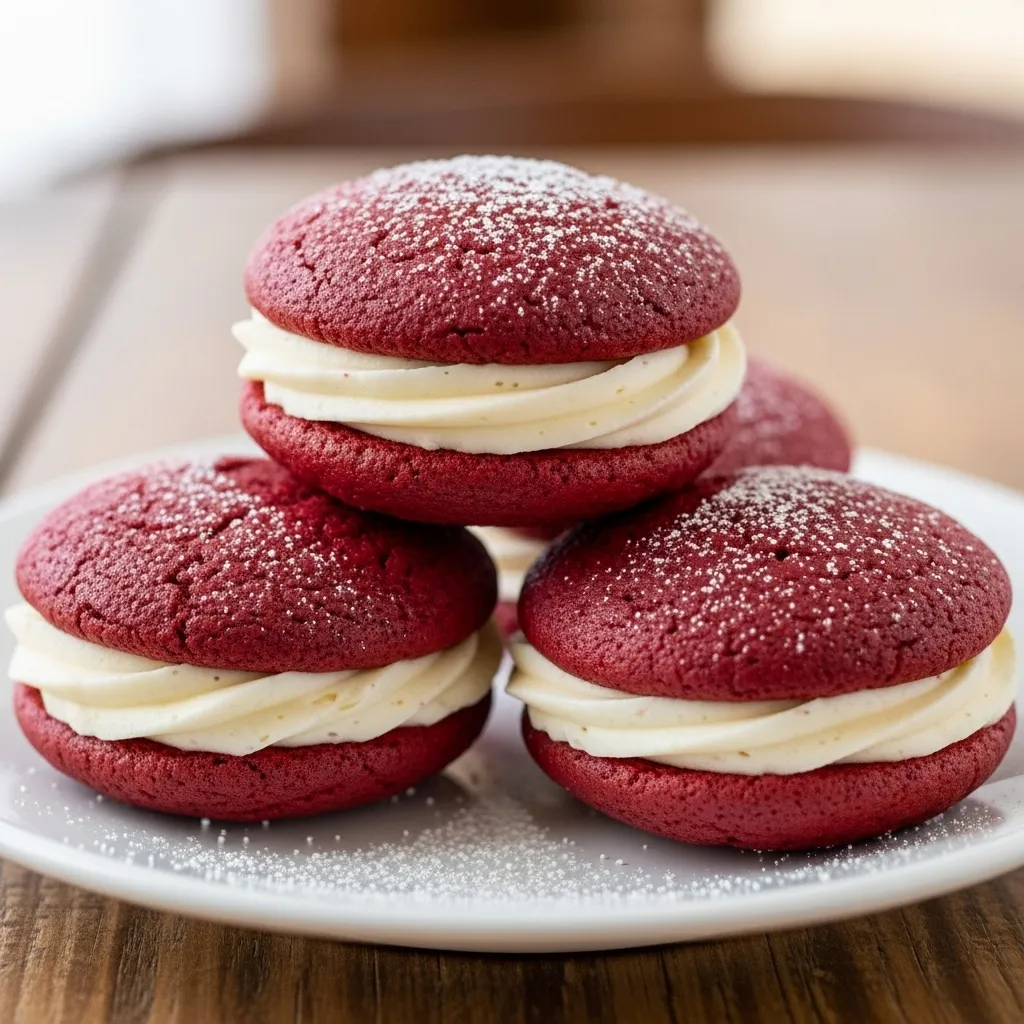
Bake small, round portions of batter on a tray. Once cool, sandwich them with frosting. Keep sizes similar so the pies match. If you don’t have a scoop, use two spoons to portion the batter. Add a dusting of cocoa for finish. These pack easily for lunches or picnics. Store them wrapped individually to keep them soft.
17. Velvet Layers with Citrus Frosting
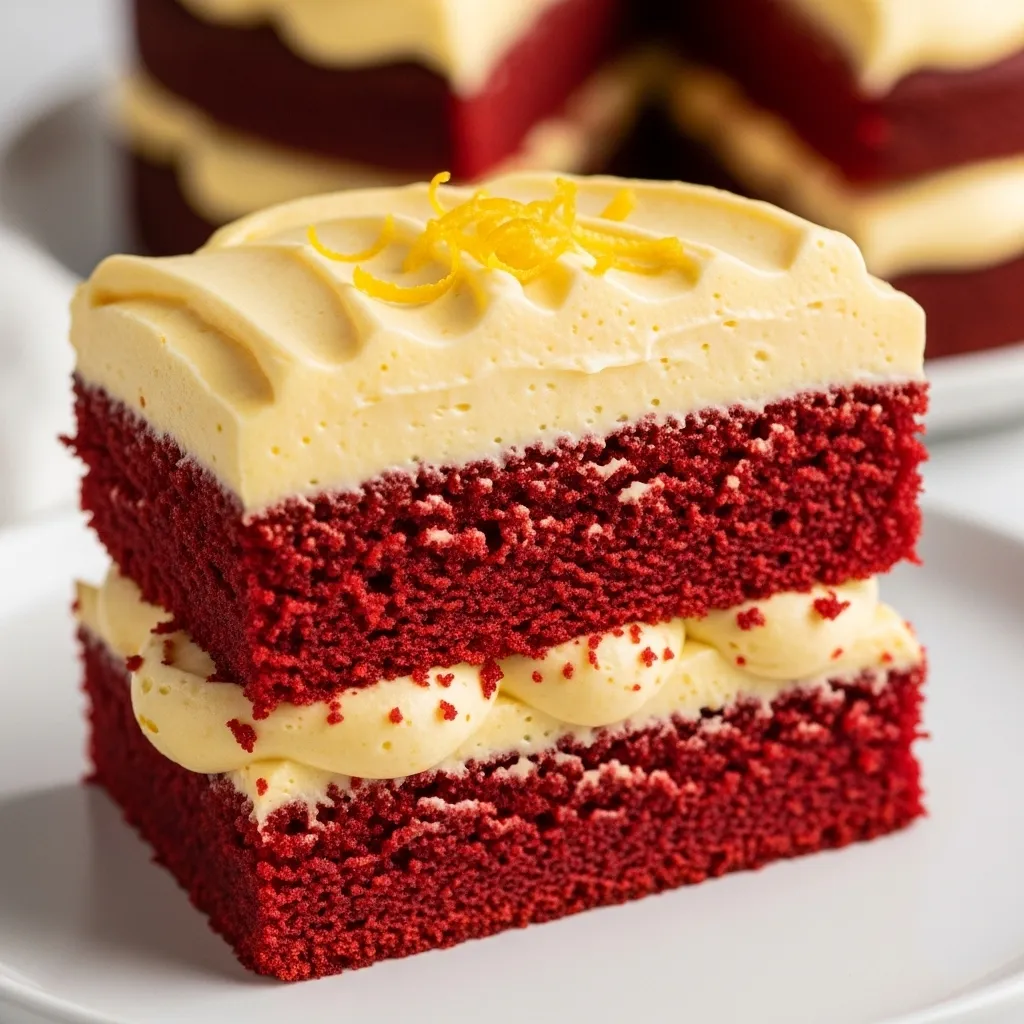
Add lemon or orange zest to your frosting for a bright twist. Frost thin layers so the flavor doesn’t overpower. If you want subtle flavor, add zest only. For stronger notes, add a small amount of juice. Keep the cake chilled before frosting so layers stay steady. Pair this version with berries or simple cocoa dust. It works well for spring gatherings or casual dinners.
18. Velvet Cake with Cookie Crumble
Crushed cookies add a fun texture. Spread frosting smoothly, then sprinkle cookies over the top. Use plain chocolate cookies or sandwich cookies for extra flavor. Press crumbs lightly so they stay in place. If you want to save money, use store-brand cookies. Keep the cake covered so the crumbs stay crisp. Add crumbs only before serving to avoid moisture.
19. Velvet Ice Cream Sandwiches
Bake a thin velvet sheet and cut into squares. Add softened ice cream between two squares and freeze. Wrap each sandwich tightly so it keeps shape. If the cake feels too soft, freeze the layers before pairing. Use a serrated knife to trim edges. Store in a container lined with parchment. Serve straight from the freezer for the cleanest bites.
20. Velvet Cake Milkshakes
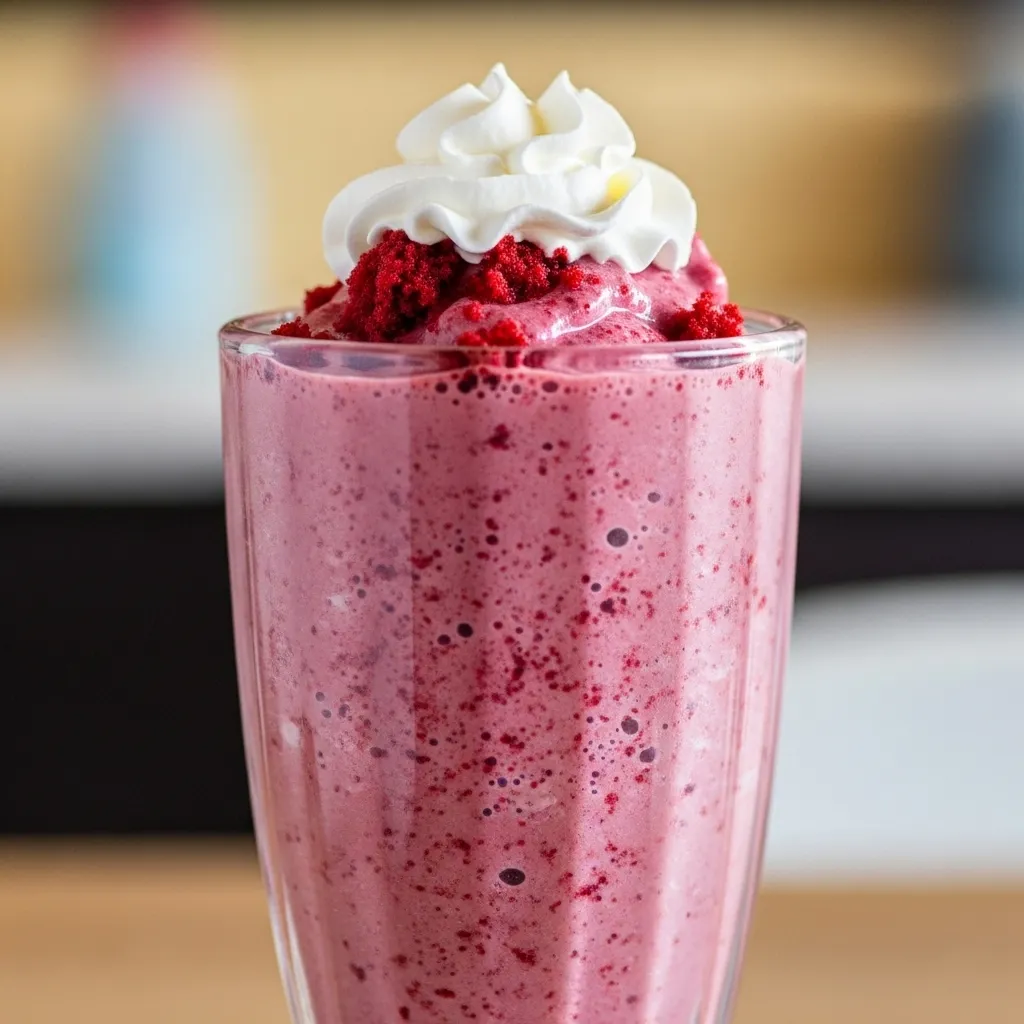
Blend leftover cake with ice cream and a splash of milk. Add frosting for sweetness. Blend only until smooth. Adjust thickness by adding more milk or ice cream. If you want extra color, crumble cake on top. Serve immediately so the texture stays creamy. This works well when you have leftover slices that feel a little dry.
21. Velvet Cake French Toast

Turn extra velvet cake into a fun breakfast. Cut slices about an inch thick so they hold up. Mix an egg with a splash of milk in a shallow bowl. Dip each slice quickly so it doesn’t get soggy. Cook on a lightly buttered pan until both sides turn golden. Add a small drizzle of syrup or a spoonful of whipped cream. If the cake feels too soft, freeze slices for fifteen minutes first. This helps them stay firm while cooking. Keep the heat low so the cake warms through without burning. Serve warm with berries or a dusting of cocoa. It’s a simple way to use leftover pieces without buying special ingredients.
22. Velvet Cake Milk Truffles
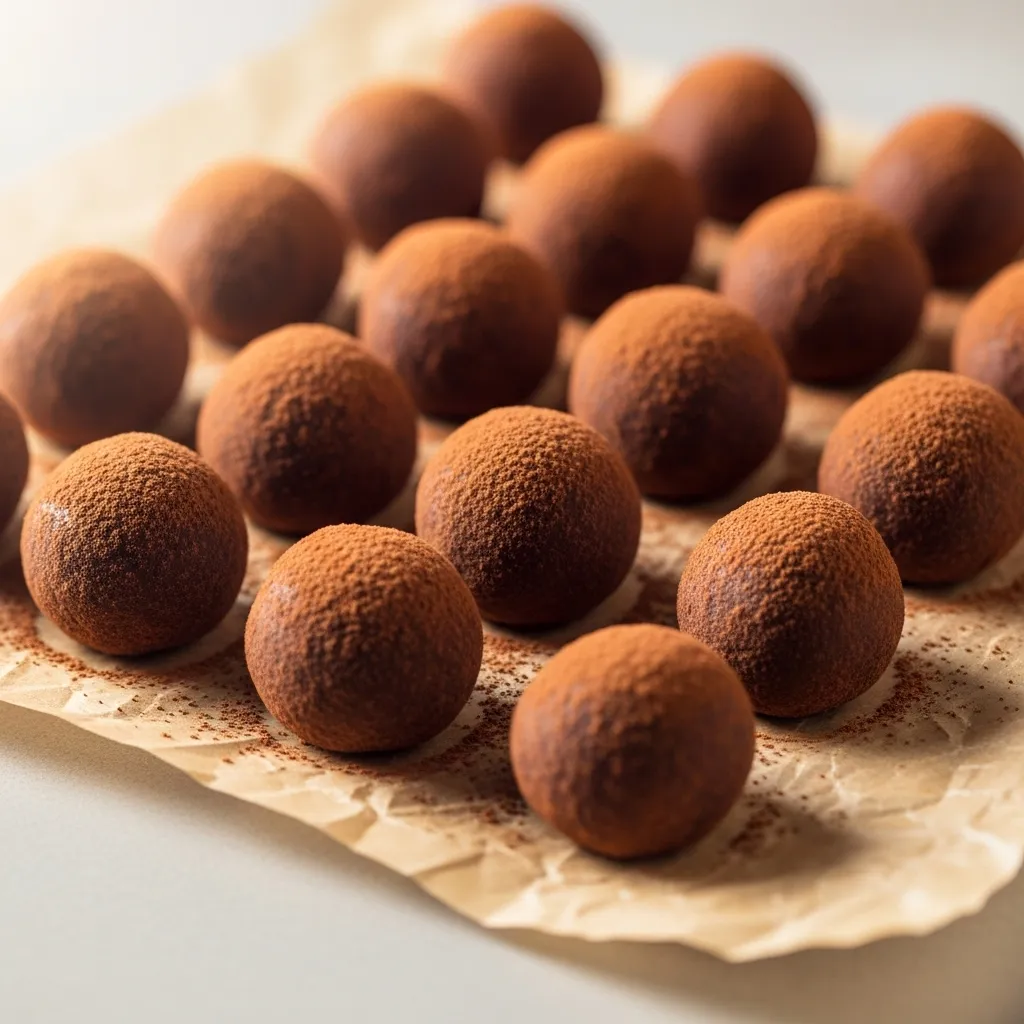
Turn crumbly leftovers into soft truffle treats. Crumble the cake into a bowl and add a spoonful of milk or cream until it forms a sticky dough. Roll into small balls. Chill for ten minutes to firm them up. Coat each ball in cocoa powder or crushed cookies. If you want a smoother finish, dip them in melted chocolate instead. These store well in the fridge and make easy snacks. Keep costs low by using simple coatings like cocoa or coconut. Pack them in small containers for gifting or quick treats.
Conclusion:
Velvet cake doesn’t have to feel complicated. With simple methods, basic tools, and small adjustments, you can create versions that fit casual gatherings, quick treats, or special moments. Pick one idea, try it at your own pace, and enjoy every slice along the way.